Before attempting to install these, please detach hard bags from your bike and clean interior.
Step 1. Remove lids with hinge attached to lid.
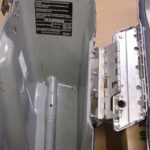
Step 2. Remove rubber grommets but leave bracket on.

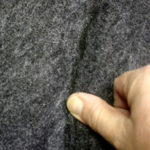
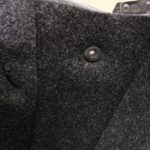
Step 3. See inside of lining. Smooth out seams, they will disappear when installation is complete.
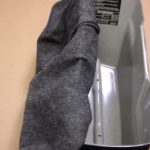
Step 4. Position lining in bag and install grommets.
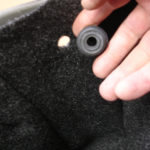
Step 5. With grommets in position you can now locate lining in the bag, side to side and front to back.
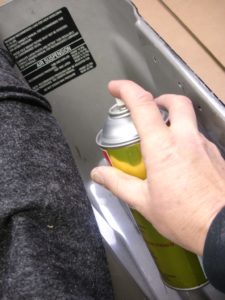
Step 6. Pull the lining out so you can now begin to spray the included adhesive.
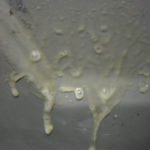
Step 7. Spray adhesive on the floor, 2 ends and the one free side. Spray the adhesive liberally…as pictured! (This will allow you to easily move your lining into position.)
Step 8. Smooth out the lining into position working out any wrinkles with your hands. Once the bottom and three sides have dried (about 10 minutes), remove the grommets and spray liberally the remaining side. Smooth out this side making sure you have holes in lining in line with holes in your bag.